


Unity Web AR Example: A Comprehensive Guide
Are you intrigued by the possibilities of Augmented Reality (AR) in the web space? Unity, a powerful game development platform, has made it easier than ever to create engaging AR experiences. One such example is the Unity Web AR, which allows developers to create AR content that can be accessed directly through a web browser. In this article, we will delve into the details of the Unity Web AR example on GitHub, exploring its features, implementation, and potential use cases.
Understanding Unity Web AR

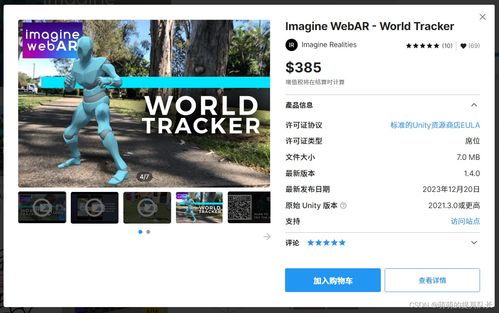
Unity Web AR is a feature that enables developers to create AR experiences that can be accessed through a web browser without the need for any additional plugins or installations. This is made possible by leveraging the WebAR API, which is a standardized API for AR on the web. The Unity Web AR example on GitHub provides a practical demonstration of how to implement this feature in your projects.
Setting Up the Unity Web AR Example
Before diving into the details, let’s go through the steps to set up the Unity Web AR example on GitHub. First, you’ll need to create a GitHub account if you don’t already have one. Once you’re logged in, search for the Unity Web AR example repository. Click on the repository and then click the “Clone or download” button to download the repository to your local machine.
Next, open the downloaded folder in Unity. You’ll see a Unity project with a simple AR experience already set up. This project serves as a starting point for you to explore and modify the Unity Web AR features.
Exploring the Unity Web AR Example
Now that you have the Unity Web AR example set up, let’s explore its key components and features.
1. Project Structure
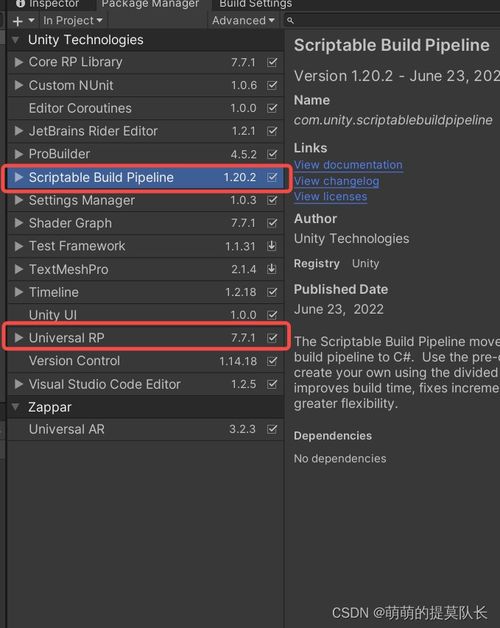
The Unity Web AR example project is well-organized, making it easy to navigate and understand. The project consists of several folders and files, including:
| Folder/Files | Description |
|---|---|
| Assets | Contains all the assets used in the project, such as 3D models, textures, and scripts. |
| Scenes | Contains the scenes used in the project, such as the main AR scene. |
| Scripts | Contains the scripts used in the project, such as the AR session manager and camera controls. |
2. AR Session Manager
The AR Session Manager is a crucial component of the Unity Web AR example. It handles the initialization, tracking, and rendering of the AR experience. The manager uses the WebAR API to communicate with the browser and provide AR functionality.
3. Camera Controls
The camera controls allow you to manipulate the AR camera within the scene. You can adjust the field of view, enable or disable the camera, and even implement gestures to control the camera’s movement.
4. 3D Models and Textures
The Unity Web AR example includes several 3D models and textures that you can use to create your AR experiences. These assets are stored in the “Assets” folder and can be easily imported into your project.
Implementing Unity Web AR in Your Projects
Now that you have a good understanding of the Unity Web AR example, you can start implementing it in your own projects. Here are some tips to help you get started:
1. Familiarize Yourself with the WebAR API
Understanding the WebAR API is essential for implementing Unity Web AR in your projects. Spend some time exploring the API documentation and experimenting with different features.
2. Use the AR Session Manager
The AR Session Manager is a powerful tool for handling AR sessions. Make sure to utilize its features to create a seamless and engaging AR experience.
3. Experiment with 3D Models and Textures
The Unity Web AR example includes a variety of 3D models and textures. Experiment with these assets to create unique and visually appealing AR experiences.
4. Optimize Your AR Experience
Optimizing your AR experience is crucial for ensuring a smooth and enjoyable user experience. Pay attention to performance, rendering, and user interaction to create an optimal AR experience.


