


How to Use AR in the Wayfair App on iOS: A Detailed Guide
Augmented Reality (AR) has revolutionized the way we interact with digital content, and the Wayfair app for iOS is no exception. With AR capabilities, you can visualize furniture and decor in your own space before making a purchase. Here’s a step-by-step guide on how to use AR in the Wayfair app on your iOS device.
Step 1: Download and Install the Wayfair App

Before you can start using AR, you need to have the Wayfair app installed on your iOS device. You can download it for free from the App Store. Once downloaded, open the app and sign in or create an account if you don’t already have one.
Step 2: Enable AR Capabilities
After signing in, you’ll need to enable AR capabilities in the app. To do this, go to the app’s settings by tapping the gear icon in the upper-right corner of the screen. Scroll down and toggle on the “AR” option. This will allow you to use AR features within the app.
Step 3: Navigate to the Product Page

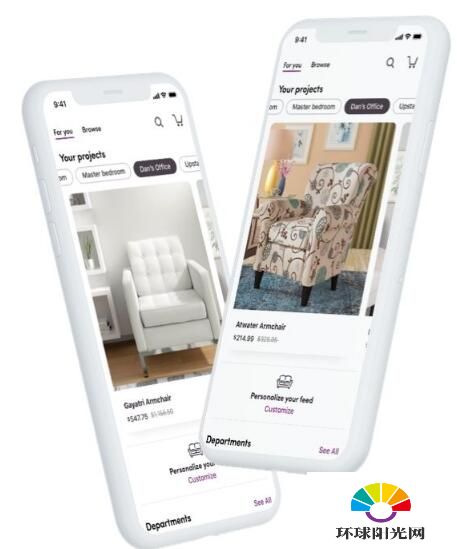
Once AR is enabled, you can start visualizing products in your space. Navigate to the product page by searching for the item you’re interested in or browsing through categories. When you find a product you want to view in AR, tap on it to open the product page.
Step 4: Access the AR View
On the product page, you’ll see an AR icon (a square with a dot in the center) next to the “Add to Cart” button. Tap on this icon to access the AR view. This will open a new screen where you can see the product in your space.
Step 5: Set Up Your Space
Before you can place the product in your space, you’ll need to set up your room. The app will ask you to select the type of room you want to visualize the product in. Choose the appropriate room type, and the app will generate a virtual space for you to place the product.
Once you’ve selected the room type, you can adjust the room’s dimensions by dragging the edges of the room. Make sure the dimensions are accurate to get the best AR experience.
Step 6: Place the Product in Your Space
With your room set up, it’s time to place the product. Tap on the “Place” button in the AR view. The app will then display the product in your space. You can move the product around by dragging it with your finger. You can also rotate the product by pinching and spreading your fingers on the screen.
Step 7: Adjust the Product
Once the product is in place, you can adjust its size to fit your space. Tap on the “Adjust Size” button, and then drag the product to scale it up or down. You can also change the product’s orientation by tapping on the “Rotate” button and then rotating the product with your finger.
Step 8: Save and Share
After you’ve placed and adjusted the product to your satisfaction, you can save the view for future reference. Tap on the “Save” button to save the AR view. You can also share the view with friends or family by tapping on the “Share” button and choosing your preferred sharing method.
Step 9: Make a Purchase
Once you’re happy with the AR view, you can proceed to make a purchase. Tap on the “Add to Cart” button, and then follow the prompts to complete your purchase. The app will guide you through the checkout process, and you’ll receive a confirmation email once your order is placed.
Step 10: Troubleshooting
While using AR in the Wayfair app, you may encounter some issues. Here are a few common problems and their solutions:
| Problem | Solution |
|---|---|
| App crashes or freezes | Restart your device or update the app to the latest version. |
| Unable to place product in space | Ensure you have a stable internet connection and that your device’s camera is working properly. |
| Product appears distorted
|


