


How to Use AR in the Wayfair App: A Detailed Guide
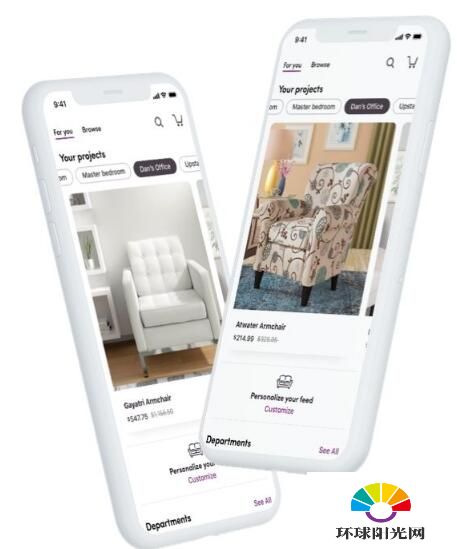
Are you looking to bring the shopping experience to life with augmented reality (AR)? Wayfair’s app offers a unique feature that allows you to visualize furniture and decor in your own space before making a purchase. Here’s a step-by-step guide on how to use AR in the Wayfair app to make your home shopping experience more enjoyable and efficient.
Step 1: Download and Install the Wayfair App

Before you can start using AR, you’ll need to download the Wayfair app from your device’s app store. Simply search for “Wayfair” in the App Store or Google Play Store, download the app, and install it on your smartphone or tablet.
Step 2: Create or Log in to Your Wayfair Account
Once the app is installed, open it and create an account or log in with your existing Wayfair credentials. This will allow you to save your preferences, view past purchases, and access other features within the app.
Step 3: Enable AR Mode
After logging in, navigate to the main menu and locate the AR feature. This is usually represented by a camera icon or labeled as “AR View.” Tap on it to enable AR mode.
Step 4: Choose a Product
With AR mode enabled, you can now start visualizing products in your space. Browse through the app’s vast collection of furniture, decor, and home accessories. When you find a product you’re interested in, tap on it to view the AR option.
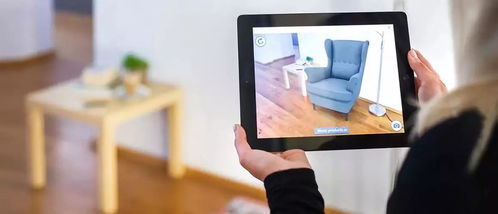
Step 5: Place the Product in Your Space
Once you’ve selected a product, the app will prompt you to place the product in your space. You can do this by either scanning your room or by manually entering the dimensions of your space. The app will then display a virtual representation of the product in your room.
Here are some tips for getting the best results:
- Make sure your space is well-lit to ensure accurate AR visualization.
- Keep the camera steady while scanning your room or entering dimensions.
- Adjust the product’s position and orientation to see how it fits in your space.
Step 6: Customize and Preview
Once the product is placed in your space, you can customize it further. For example, you can change the color, size, or style of the product to see how it looks with different options. The app will update the visualization in real-time, allowing you to make an informed decision.
Step 7: Save and Purchase
After you’ve found the perfect product for your space, you can save it to your favorites or proceed with the purchase. Simply tap on the “Add to Cart” button, and the app will guide you through the checkout process.
Step 8: Share Your AR Experience
Wayfair’s AR feature also allows you to share your experience with friends and family. You can take a screenshot of your AR visualization and share it on social media or via messaging apps. This is a great way to get feedback or make a collaborative decision.
Step 9: Troubleshooting Common Issues
While using AR in the Wayfair app, you may encounter some issues. Here are some common problems and their solutions:
| Problem | Solution |
|---|---|
| App crashes or freezes | Restart your device or update the Wayfair app to the latest version. |
| Unable to scan your room | Ensure your device’s camera is clean and free of smudges. Try scanning in a well-lit area. |
| Product placement is inaccurate | Adjust the camera angle or try scanning your room again. Ensure the product’s dimensions are accurate. |
By following these steps and troubleshooting common issues, you can make the most out of Wayfair’s AR feature and transform your home shopping experience.
Remember, the key to using AR effectively is to experiment with different products and settings to find the perfect fit for your space. Happy shopping!


